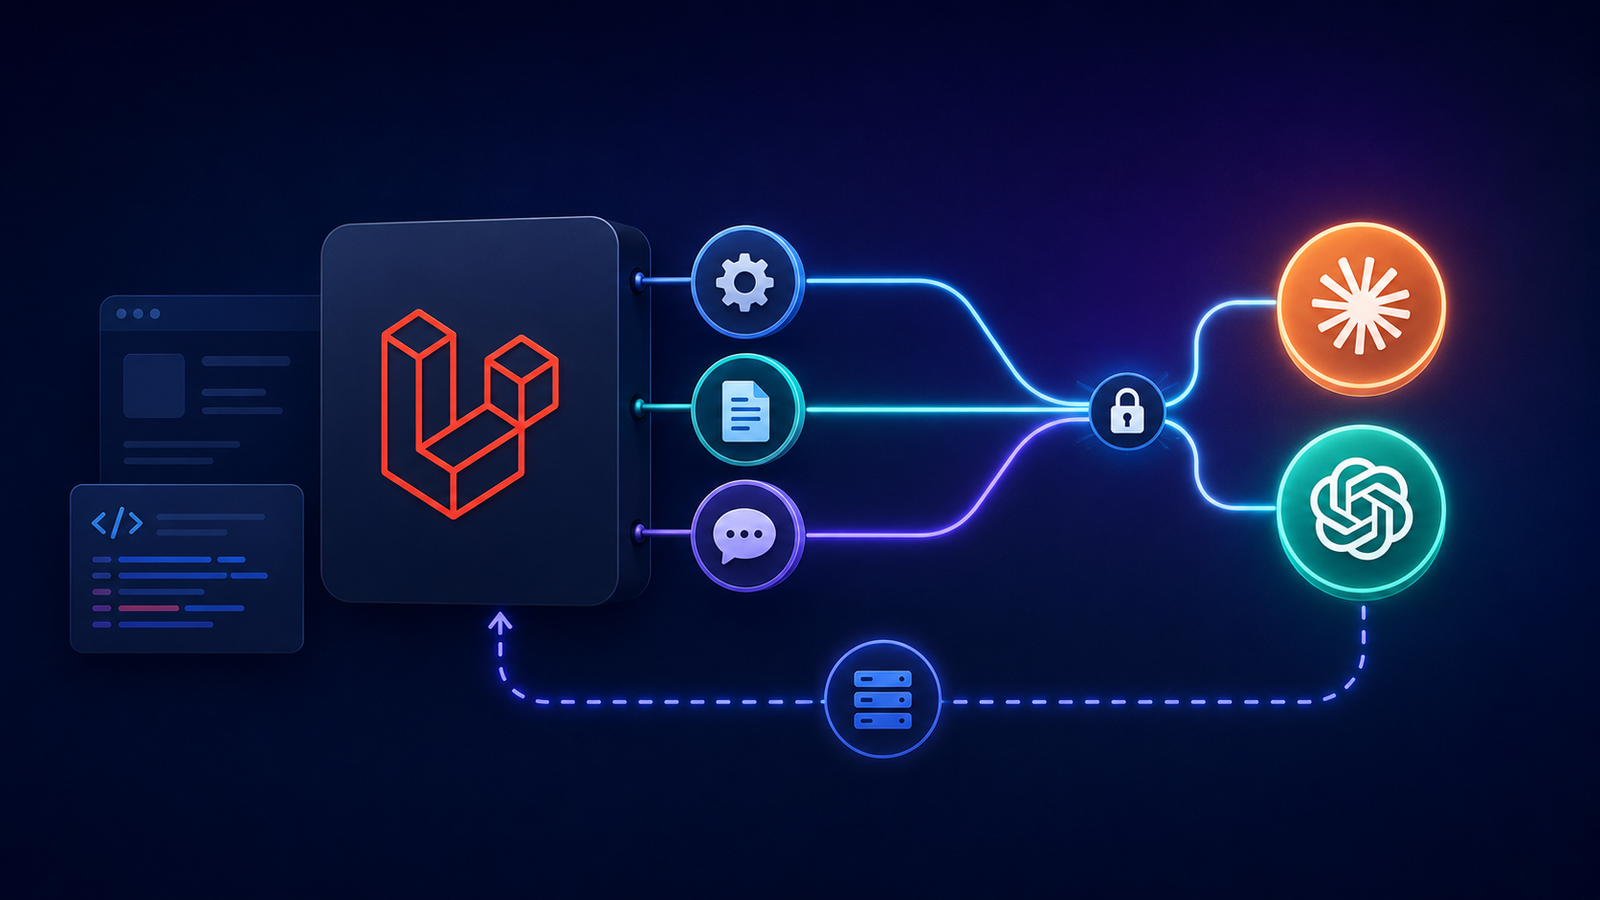
The laravel/mcp package lets your Laravel app speak the Model Context Protocol — the open standard AI assistants like Claude and ChatGPT use to read data and take actions inside real applications. This handbook is a complete, code-first walkthrough: you'll build a working MCP server from an empty project, secure it, test it, connect it to an AI client, and even consume other MCP servers from inside your own app.
Every code sample below reflects the current Laravel 13.x API.
Version note:
laravel/mcpis still pre-1.0 (v0.8.x as of mid-2026). It's production-used and stable in practice, but minor API shifts are possible before 1.0. Pin your version and check the official docs when in doubt.
Table of Contents
What MCP actually is
Installation and setup
Creating your first server
Building tools (the core of MCP)
Input schemas and validation
Tool annotations and responses
Resources: exposing readable data
Prompts: reusable templates
Authentication and authorization
Testing your server
Connecting an AI client (the connector guide)
Consuming other MCP servers from Laravel
A recommended development strategy
1. What MCP Actually Is
MCP (Model Context Protocol) is an open standard Anthropic introduced in November 2024. It defines a common language between AI agents and external systems. Before MCP, every AI tool needed a bespoke integration with your app; now, any MCP-compatible client — Claude, ChatGPT, Cursor, Copilot — can connect to any MCP-compatible server through one protocol.
A Laravel MCP server exposes three kinds of capability:
Tools — callable actions the AI can invoke (query orders, create an invoice).
Resources — readable data exposed by URI (a monthly report, config).
Prompts — reusable conversation templates for consistent behaviour.
The mental model: MCP gives an AI hands, not just a mouth. Instead of describing what it would do, the agent actually queries your real schema and calls real, validated actions.
2. Installation and Setup
Install the package via Composer, then publish the routes file:
composer require laravel/mcp
php artisan vendor:publish --tag=ai-routes
This creates routes/ai.php — your dedicated space for registering MCP servers, analogous to routes/web.php. Laravel loads it automatically.
3. Creating Your First Server
Generate a server class with Artisan:
php artisan make:mcp-server OrdersServer
This creates app/Mcp/Servers/OrdersServer.php. The server is the central hub that registers your tools, resources, and prompts:
<?php

namespace App\Mcp\Servers;

use App\Mcp\Tools\GetRecentOrdersTool;
use App\Mcp\Tools\LookupInvoiceTool;
use Laravel\Mcp\Server;
use Laravel\Mcp\Server\Attributes\Instructions;
use Laravel\Mcp\Server\Attributes\Name;
use Laravel\Mcp\Server\Attributes\Version;

#[Name('Orders Server')]
#[Version('1.0.0')]
#[Instructions('This server provides access to customer orders and invoices.')]
class OrdersServer extends Server
{
    /**
     * The tools registered with this MCP server.
     *
     * @var array<int, class-string<\Laravel\Mcp\Server\Tool>>
     */
    protected array $tools = [
        GetRecentOrdersTool::class,
        LookupInvoiceTool::class,
    ];

    /**
     * The resources registered with this MCP server.
     *
     * @var array<int, class-string<\Laravel\Mcp\Server\Resource>>
     */
    protected array $resources = [
        // MonthlySalesResource::class,
    ];

    /**
     * The prompts registered with this MCP server.
     *
     * @var array<int, class-string<\Laravel\Mcp\Server\Prompt>>
     */
    protected array $prompts = [
        // SummariseOrdersPrompt::class,
    ];
}
The #[Instructions] attribute is important — it's the server-level guidance the AI reads to understand what this server is for.
Registering the Server
Open routes/ai.php and register it. You have two transport options:
use App\Mcp\Servers\OrdersServer;
use Laravel\Mcp\Facades\Mcp;

// HTTP-accessible — for remote AI clients like ChatGPT or Claude web
Mcp::web('/mcp/orders', OrdersServer::class);

// Command-line — for local agents like Claude Code
Mcp::local('orders', OrdersServer::class);
Use web for remote HTTP clients and local for command-line agents running on the same machine.
4. Building Tools (The Core of MCP)
Tools are where the real work happens. Generate one:
php artisan make:mcp-tool GetRecentOrdersTool
Here's a complete read-only tool that fetches recent orders. Note the #[Description] attribute and the schema() method — these aren't comments, they're the instructions the AI reads to know when and how to call the tool:
<?php

namespace App\Mcp\Tools;

use App\Models\Order;
use Illuminate\Contracts\JsonSchema\JsonSchema;
use Laravel\Mcp\Request;
use Laravel\Mcp\Response;
use Laravel\Mcp\Server\Attributes\Description;
use Laravel\Mcp\Server\Tool;
use Laravel\Mcp\Server\Tools\Annotations\IsReadOnly;

#[Description('Fetches the most recent orders, optionally filtered by status.')]
#[IsReadOnly]
class GetRecentOrdersTool extends Tool
{
    /**
     * Handle the tool request.
     */
    public function handle(Request $request): Response
    {
        $validated = $request->validate([
            'status' => 'nullable|string|in:paid,pending,refunded',
            'limit'  => 'nullable|integer|min:1|max:50',
        ]);

        $orders = Order::query()
            ->when(
                $validated['status'] ?? null,
                fn ($q, $status) => $q->where('status', $status)
            )
            ->latest()
            ->limit($validated['limit'] ?? 10)
            ->get(['id', 'customer_name', 'total', 'status', 'created_at']);

        return Response::structured([
            'count'  => $orders->count(),
            'orders' => $orders->toArray(),
        ]);
    }

    /**
     * Get the tool's input schema.
     *
     * @return array<string, \Illuminate\JsonSchema\Types\Type>
     */
    public function schema(JsonSchema $schema): array
    {
        return [
            'status' => $schema->string()
                ->enum(['paid', 'pending', 'refunded'])
                ->description('Optional order status filter.'),

            'limit' => $schema->integer()
                ->description('Maximum number of orders to return (1–50).')
                ->default(10),
        ];
    }
}
5. Input Schemas and Validation
There are two complementary layers here, and using both is best practice:
The schema (schema() method) tells the AI what arguments exist and their shape. It uses Laravel's JsonSchema builder:
public function schema(JsonSchema $schema): array
{
    return [
        'invoice_number' => $schema->string()
            ->description('The invoice number, e.g. INV-2026-0042.')
            ->required(),
    ];
}
Validation (inside handle()) enforces real rules. Crucially, your error messages are read by the AI, so write them to be actionable — the model uses them to correct its own call:
$validated = $request->validate([
    'invoice_number' => ['required', 'string', 'max:50'],
], [
    'invoice_number.required' =>
        'You must provide an invoice number, for example "INV-2026-0042".',
]);
6. Tool Annotations and Responses
Annotations
Annotations tell the AI client about a tool's behaviour, which helps it decide how cautiously to use it. Add them as attributes:
use Laravel\Mcp\Server\Tools\Annotations\IsReadOnly;
use Laravel\Mcp\Server\Tools\Annotations\IsDestructive;
use Laravel\Mcp\Server\Tools\Annotations\IsIdempotent;

#[IsReadOnly]      // Does not modify anything
#[IsIdempotent]    // Repeated identical calls have no extra effect
class GetRecentOrdersTool extends Tool { /* ... */ }
The four available annotations are #[IsReadOnly], #[IsDestructive], #[IsIdempotent], and #[IsOpenWorld]. Marking read operations as read-only and reserving #[IsDestructive] for genuine mutations is a key safety habit.
Response Types
Tools return a Laravel\Mcp\Response. The common methods:
// Plain text
return Response::text('Order #1024 has been marked as shipped.');

// Structured, parseable data (recommended for data-heavy tools)
return Response::structured([
    'temperature' => 22.5,
    'conditions'  => 'Sunny',
]);

// Signal an error the AI can read and react to
return Response::error('No invoice found with that number.');

// Multiple pieces of content
return [
    Response::text('Summary: 3 pending orders.'),
    Response::text('**Details**\n- #1021\n- #1022\n- #1023'),
];
For long-running work, you can yield from handle() to stream progress — on web servers this automatically opens an SSE stream.
The Golden Safety Rule
Expose reads freely; make writes explicit and guarded. A tool that creates or deletes should validate strictly, be marked #[IsDestructive], and ideally create records in a non-live state (e.g. draft) so an AI can never trigger something irreversible from a misread sentence.
7. Resources: Exposing Readable Data
Resources are read-only context an AI can pull in. Generate one:
php artisan make:mcp-resource MonthlySalesResource
<?php

namespace App\Mcp\Resources;

use App\Models\Order;
use Laravel\Mcp\Response;
use Laravel\Mcp\Server\Attributes\Description;
use Laravel\Mcp\Server\Attributes\MimeType;
use Laravel\Mcp\Server\Attributes\Uri;
use Laravel\Mcp\Server\Resource;

#[Uri('orders://reports/monthly')]
#[MimeType('application/json')]
#[Description('A summary of this month\'s sales totals and order counts.')]
class MonthlySalesResource extends Resource
{
    public function handle(): Response
    {
        $orders = Order::query()
            ->whereMonth('created_at', now()->month)
            ->get();

        return Response::text(json_encode([
            'month'        => now()->format('F Y'),
            'order_count'  => $orders->count(),
            'total_revenue'=> $orders->sum('total'),
        ]));
    }
}
Unlike tools, resources can't take input arguments — but resource templates let one resource handle many URIs via placeholders like file://users/{userId}/files/{fileId}, with variables extracted automatically into the request.
8. Prompts: Reusable Templates
Prompts standardise common interactions. Generate one:
php artisan make:mcp-prompt SummariseOrdersPrompt
<?php

namespace App\Mcp\Prompts;

use Laravel\Mcp\Request;
use Laravel\Mcp\Response;
use Laravel\Mcp\Server\Attributes\Description;
use Laravel\Mcp\Server\Prompt;
use Laravel\Mcp\Server\Prompts\Argument;

#[Description('Generates a summary of orders in a chosen tone.')]
class SummariseOrdersPrompt extends Prompt
{
    /**
     * @return array<int, \Laravel\Mcp\Server\Prompts\Argument>
     */
    public function arguments(): array
    {
        return [
            new Argument(
                name: 'tone',
                description: 'The tone: formal, casual, or concise.',
                required: true,
            ),
        ];
    }

    /**
     * @return array<int, \Laravel\Mcp\Response>
     */
    public function handle(Request $request): array
    {
        $tone = $request->string('tone');

        return [
            Response::text(
                "You are an orders analyst. Summarise recent orders in a {$tone} tone."
            )->asAssistant(),
            Response::text('Give me a summary of this week\'s orders.'),
        ];
    }
}
The asAssistant() method marks a message as coming from the assistant; plain messages are treated as user input.
9. Authentication and Authorization
Web servers are just routes, so you protect them with middleware. There are two supported paths.
Sanctum (simplest)
use App\Mcp\Servers\OrdersServer;
use Laravel\Mcp\Facades\Mcp;

Mcp::web('/mcp/orders', OrdersServer::class)
    ->middleware('auth:sanctum');
Clients then send an Authorization: Bearer <token> header.
OAuth 2.1 (most compatible)
OAuth 2.1 is the protocol's documented mechanism and the most widely supported among MCP clients. With Laravel Passport installed:
use App\Mcp\Servers\OrdersServer;
use Laravel\Mcp\Facades\Mcp;

Mcp::oauthRoutes();

Mcp::web('/mcp/orders', OrdersServer::class)
    ->middleware('auth:api');
The Laravel team's guidance: prefer Passport/OAuth when you can; if you're already on Sanctum and have no client that requires OAuth, stay on Sanctum until you do.
Authorization Inside Tools
Once authenticated, $request->user() is available for per-action checks:
public function handle(Request $request): Response
{
    if (! $request->user()->can('view-orders')) {
        return Response::error('Permission denied.');
    }

    // ...
}
10. Testing Your Server
Two approaches, and you'll use both.
The MCP Inspector (interactive)
# Web server registered at mcp/orders
php artisan mcp:inspector mcp/orders

# Local server named "orders"
php artisan mcp:inspector orders
This launches an interactive UI to try your tools, resources, and prompts, and gives you client-config snippets to copy.
Unit Tests (automated)
Laravel MCP provides first-class test helpers:
test('it fetches recent orders', function () {
    $response = OrdersServer::tool(GetRecentOrdersTool::class, [
        'status' => 'pending',
        'limit'  => 5,
    ]);

    $response
        ->assertOk()
        ->assertHasNoErrors();
});

test('it requires a valid invoice number', function () {
    $response = OrdersServer::tool(LookupInvoiceTool::class, [
        'invoice_number' => '',
    ]);

    $response->assertHasErrors();
});
You can act as a user with OrdersServer::actingAs($user)->tool(...), and assert on names, titles, descriptions, notifications, and content.
11. Connecting an AI Client (The Connector Guide)
A server is only useful once an AI client connects to it. Here's how to wire up the two most common clients.
Connecting Claude Code (local server)
For a local server, the client launches it as a command. In your MCP client configuration (for Claude Code, this is your MCP config file), add:
{
  "mcpServers": {
    "orders": {
      "command": "php",
      "args": ["artisan", "mcp:start", "orders"],
      "cwd": "/absolute/path/to/your/laravel/app"
    }
  }
}
The mcp:start command is what Laravel exposes for local servers; the client runs it and speaks MCP over stdio.
Connecting a Remote (web) Server
For an HTTP web server, point the client at the URL and supply your auth header:
{
  "mcpServers": {
    "orders": {
      "url": "https://yourapp.com/mcp/orders",
      "headers": {
        "Authorization": "Bearer YOUR_SANCTUM_TOKEN"
      }
    }
  }
}
Verifying the Connection
Once connected, test it in plain language:
You: "How many pending orders do we have this week?" Assistant: (calls
get-recent-orderswithstatus: pending) "You have 3 pending orders totalling ₹18,400."
If the agent returns real figures from your database rather than a generic answer, the connector is working. If it fails, re-run php artisan mcp:inspector to confirm the server itself responds, then check auth headers and the absolute path in your client config.
12. Consuming Other MCP Servers From Laravel
Laravel MCP isn't only for building servers — it ships a client so your app (or your AI agents) can call other MCP servers.
Connect to a remote server:
use Laravel\Mcp\Client;

$client = Client::web('https://mcp.example.com')->withTimeout(30);
Register a reusable named client in a service provider's boot() method:
use Laravel\Mcp\Client;
use Laravel\Mcp\Facades\Mcp;

Mcp::registerClient('github', fn () =>
    Client::web('https://mcp.example.com')->withToken(
        fn () => auth()->user()->mcpToken()
    )
);
Then list and call tools anywhere:
use Laravel\Mcp\Facades\Mcp;

$tools = Mcp::client('github')->tools();

$result = Mcp::client('github')->callTool('current-weather', [
    'location' => 'Ahmedabad',
]);

$result->text();              // Text content
$result->isError;             // Error flag
$result->structuredContent;   // Structured data, if any
If you build agents with the Laravel AI SDK, you can hand these MCP tools straight to an agent, letting the model call external capabilities while it responds.
13. A Recommended Development Strategy
Pulling it together, here's a sane path from zero to production:
Start with one read-only tool that solves a real, frequent need — a lookup your team runs constantly. Mark it
#[IsReadOnly].Register it as a
localserver first and connect Claude Code. Local iteration is fast and needs no auth.Test with the MCP Inspector at every step; add unit tests for each tool as you go.
Add validation with AI-readable error messages — treat them as instructions to the model, not just user-facing strings.
Only then add write tools, each strictly validated, marked
#[IsDestructive], and designed so nothing irreversible happens without an explicit, separate step.Add resources and prompts to give the agent context and consistency.
Promote to a
webserver with Sanctum (or OAuth for wider client support) once you need remote access.Treat the deployed server like a public API — rate-limit it, authenticate it, authorize every action.
Build the smallest useful thing, connect it, feel the difference when an agent works from your real data — then expand.
NTDot Technologies builds AI-ready Laravel applications — MCP servers, AI SDK integrations, and semantic search. If you'd like your app made genuinely AI-accessible, get in touch at ntdot.tech.
Want your public content visible to AI assistants too — the other half of being AI-ready? Run a free scan at geo.ntdot.tech to see how ChatGPT, Claude, and Gemini view your site.